
DIY: 3 Canvas Painting Techniques

#MADDYCORBINDIY No. 02
We are back with a new #MaddyCorbinDIY — I am hoping to get these weekly for you guys so we have something fun to create together every week. This week, I thought I would share something I’ve gotten a lot of questions about: How do you do those paintings?
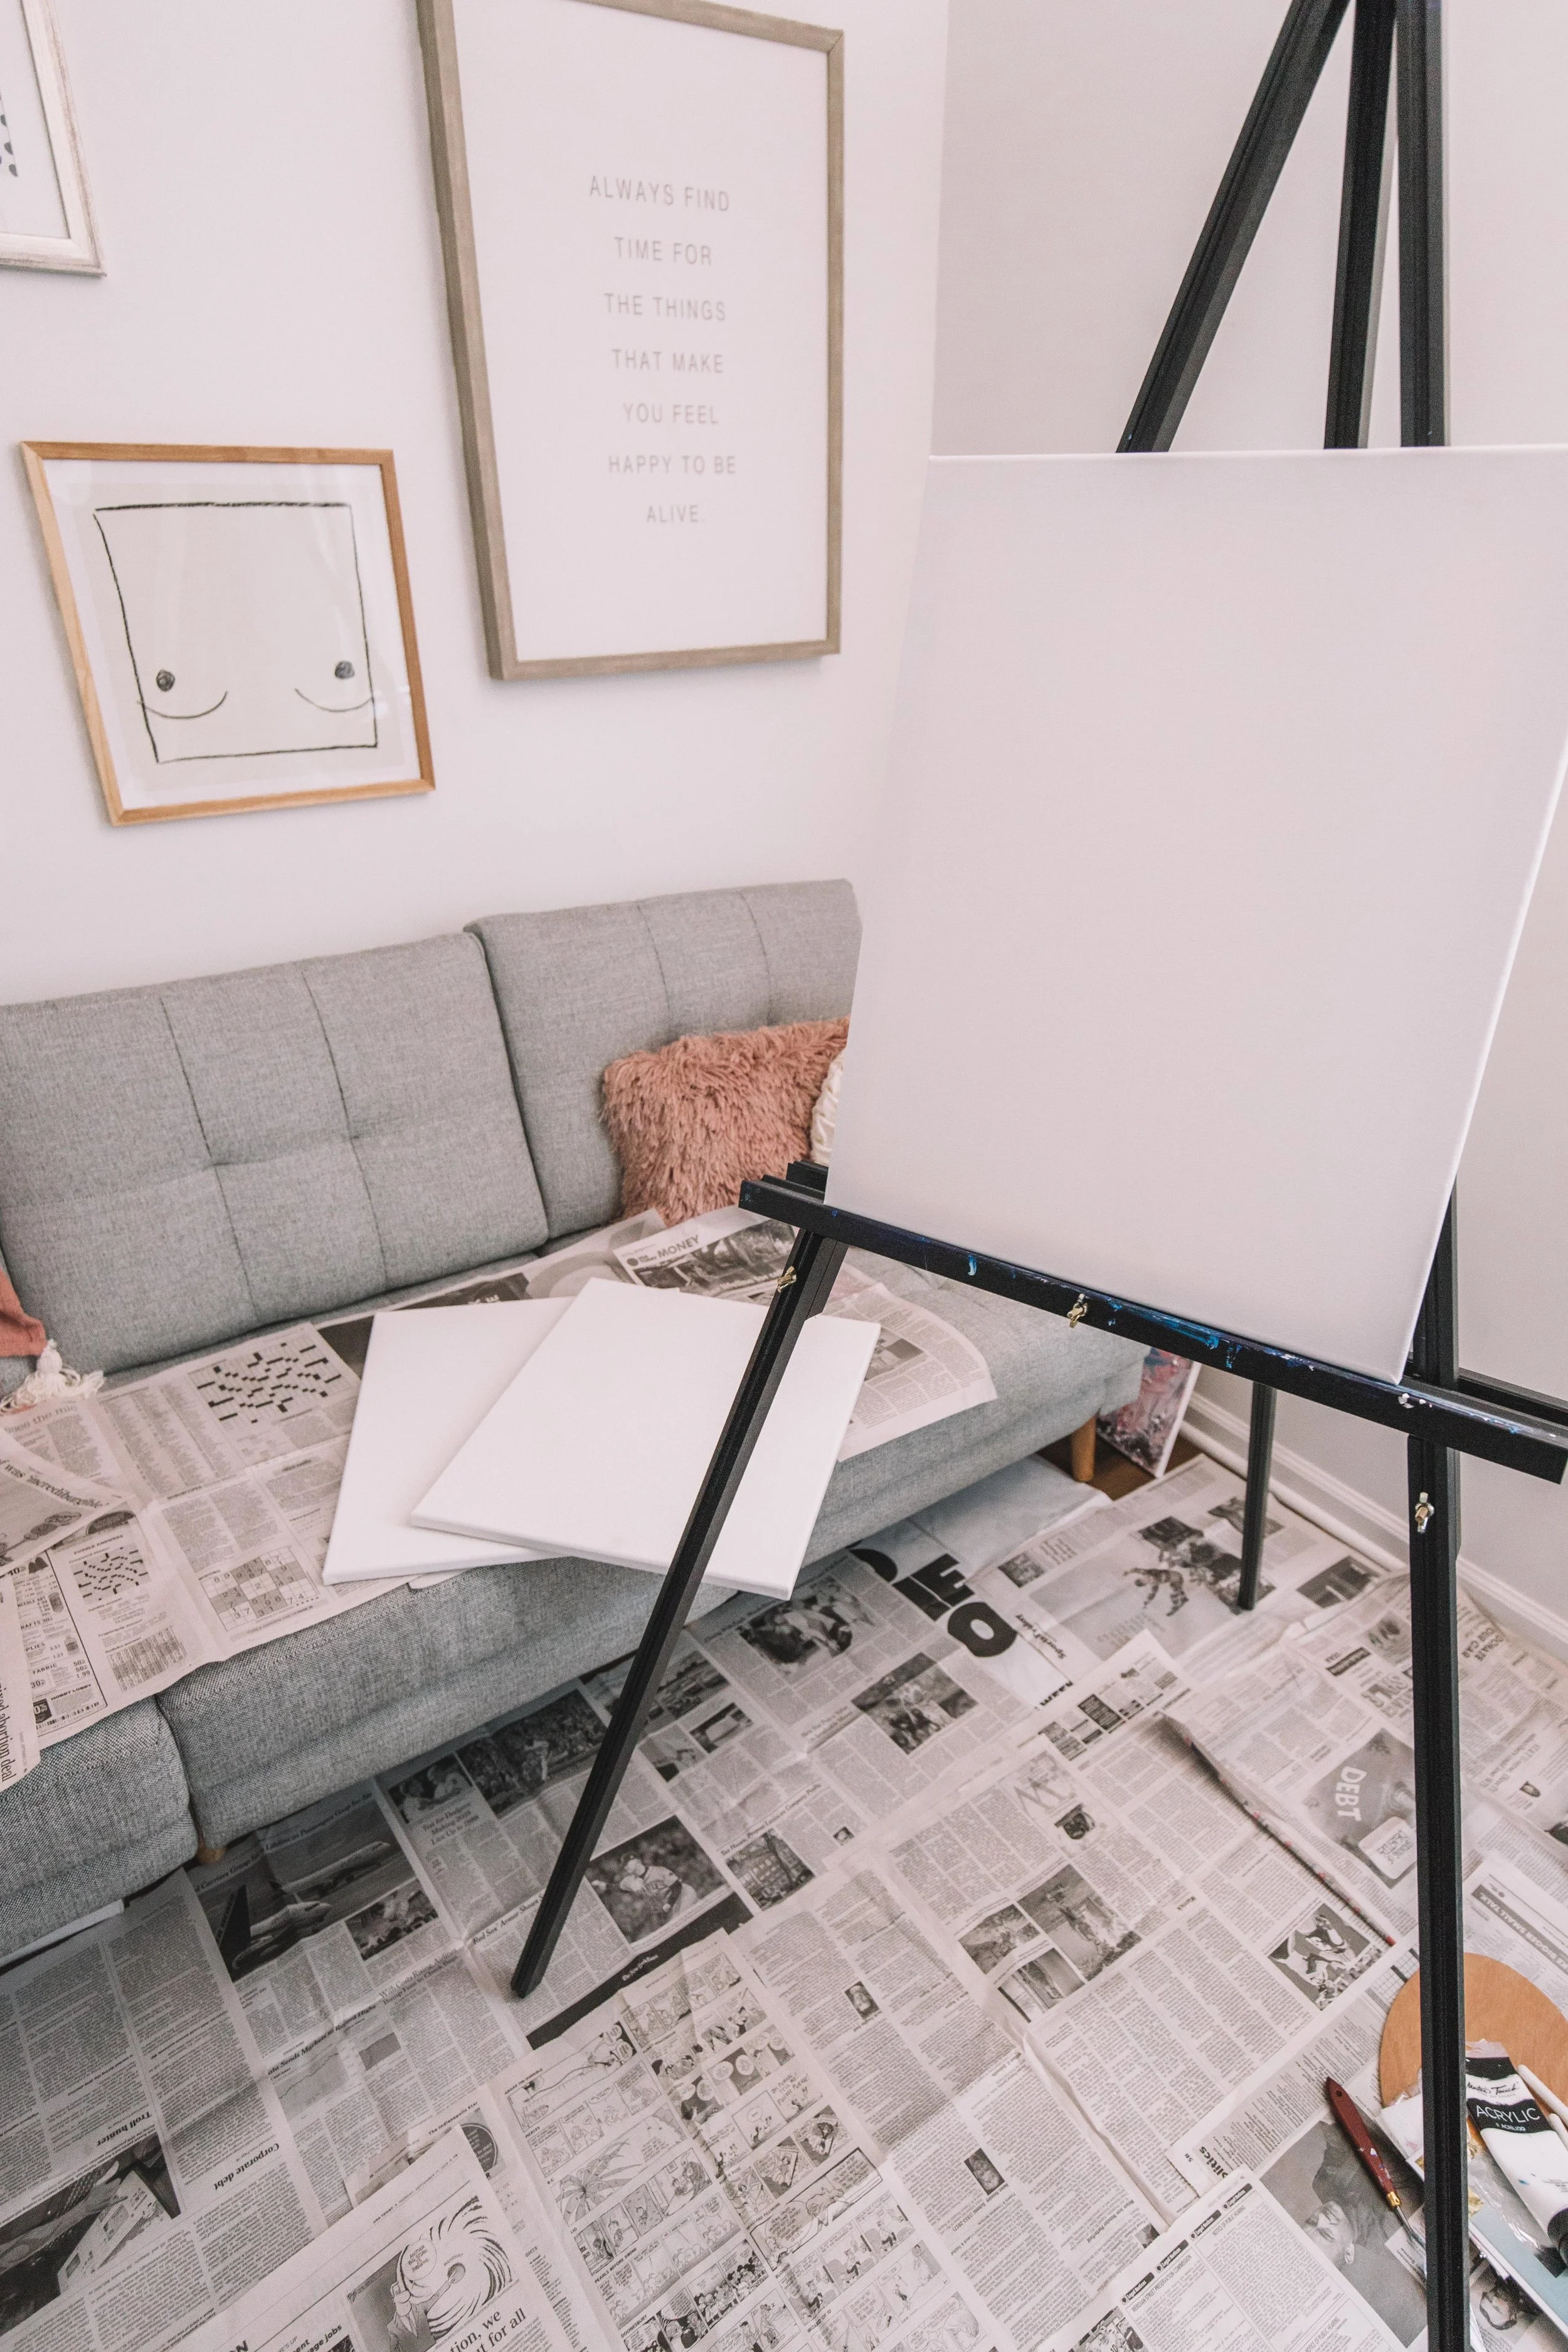
In high school, I was in my AP art class and took more art classes in my 4 years than I can count. So when I started to do some canvas paintings I remembered exactly why I loved it so much, plus it’s EASY! I am going to take you through step-by-step so you can create your own canvas paintings to decorate a home office, living loom, bedroom, or any room! You only need a few items (I picked up all of mine at Hobby Lobby) and you are good to go! I went ahead and put a level of hardness on each painting so if you are a newbie to painting you may want to go for the EASY / MODERATE one first. While our hardest technique is not that hard, it could be challenging to those we aren’t familiar with the medium!
NORTHERN LIGHTS STRIPES

ICE BREAKER BABY!

SALTED CARMEL FRAPPE

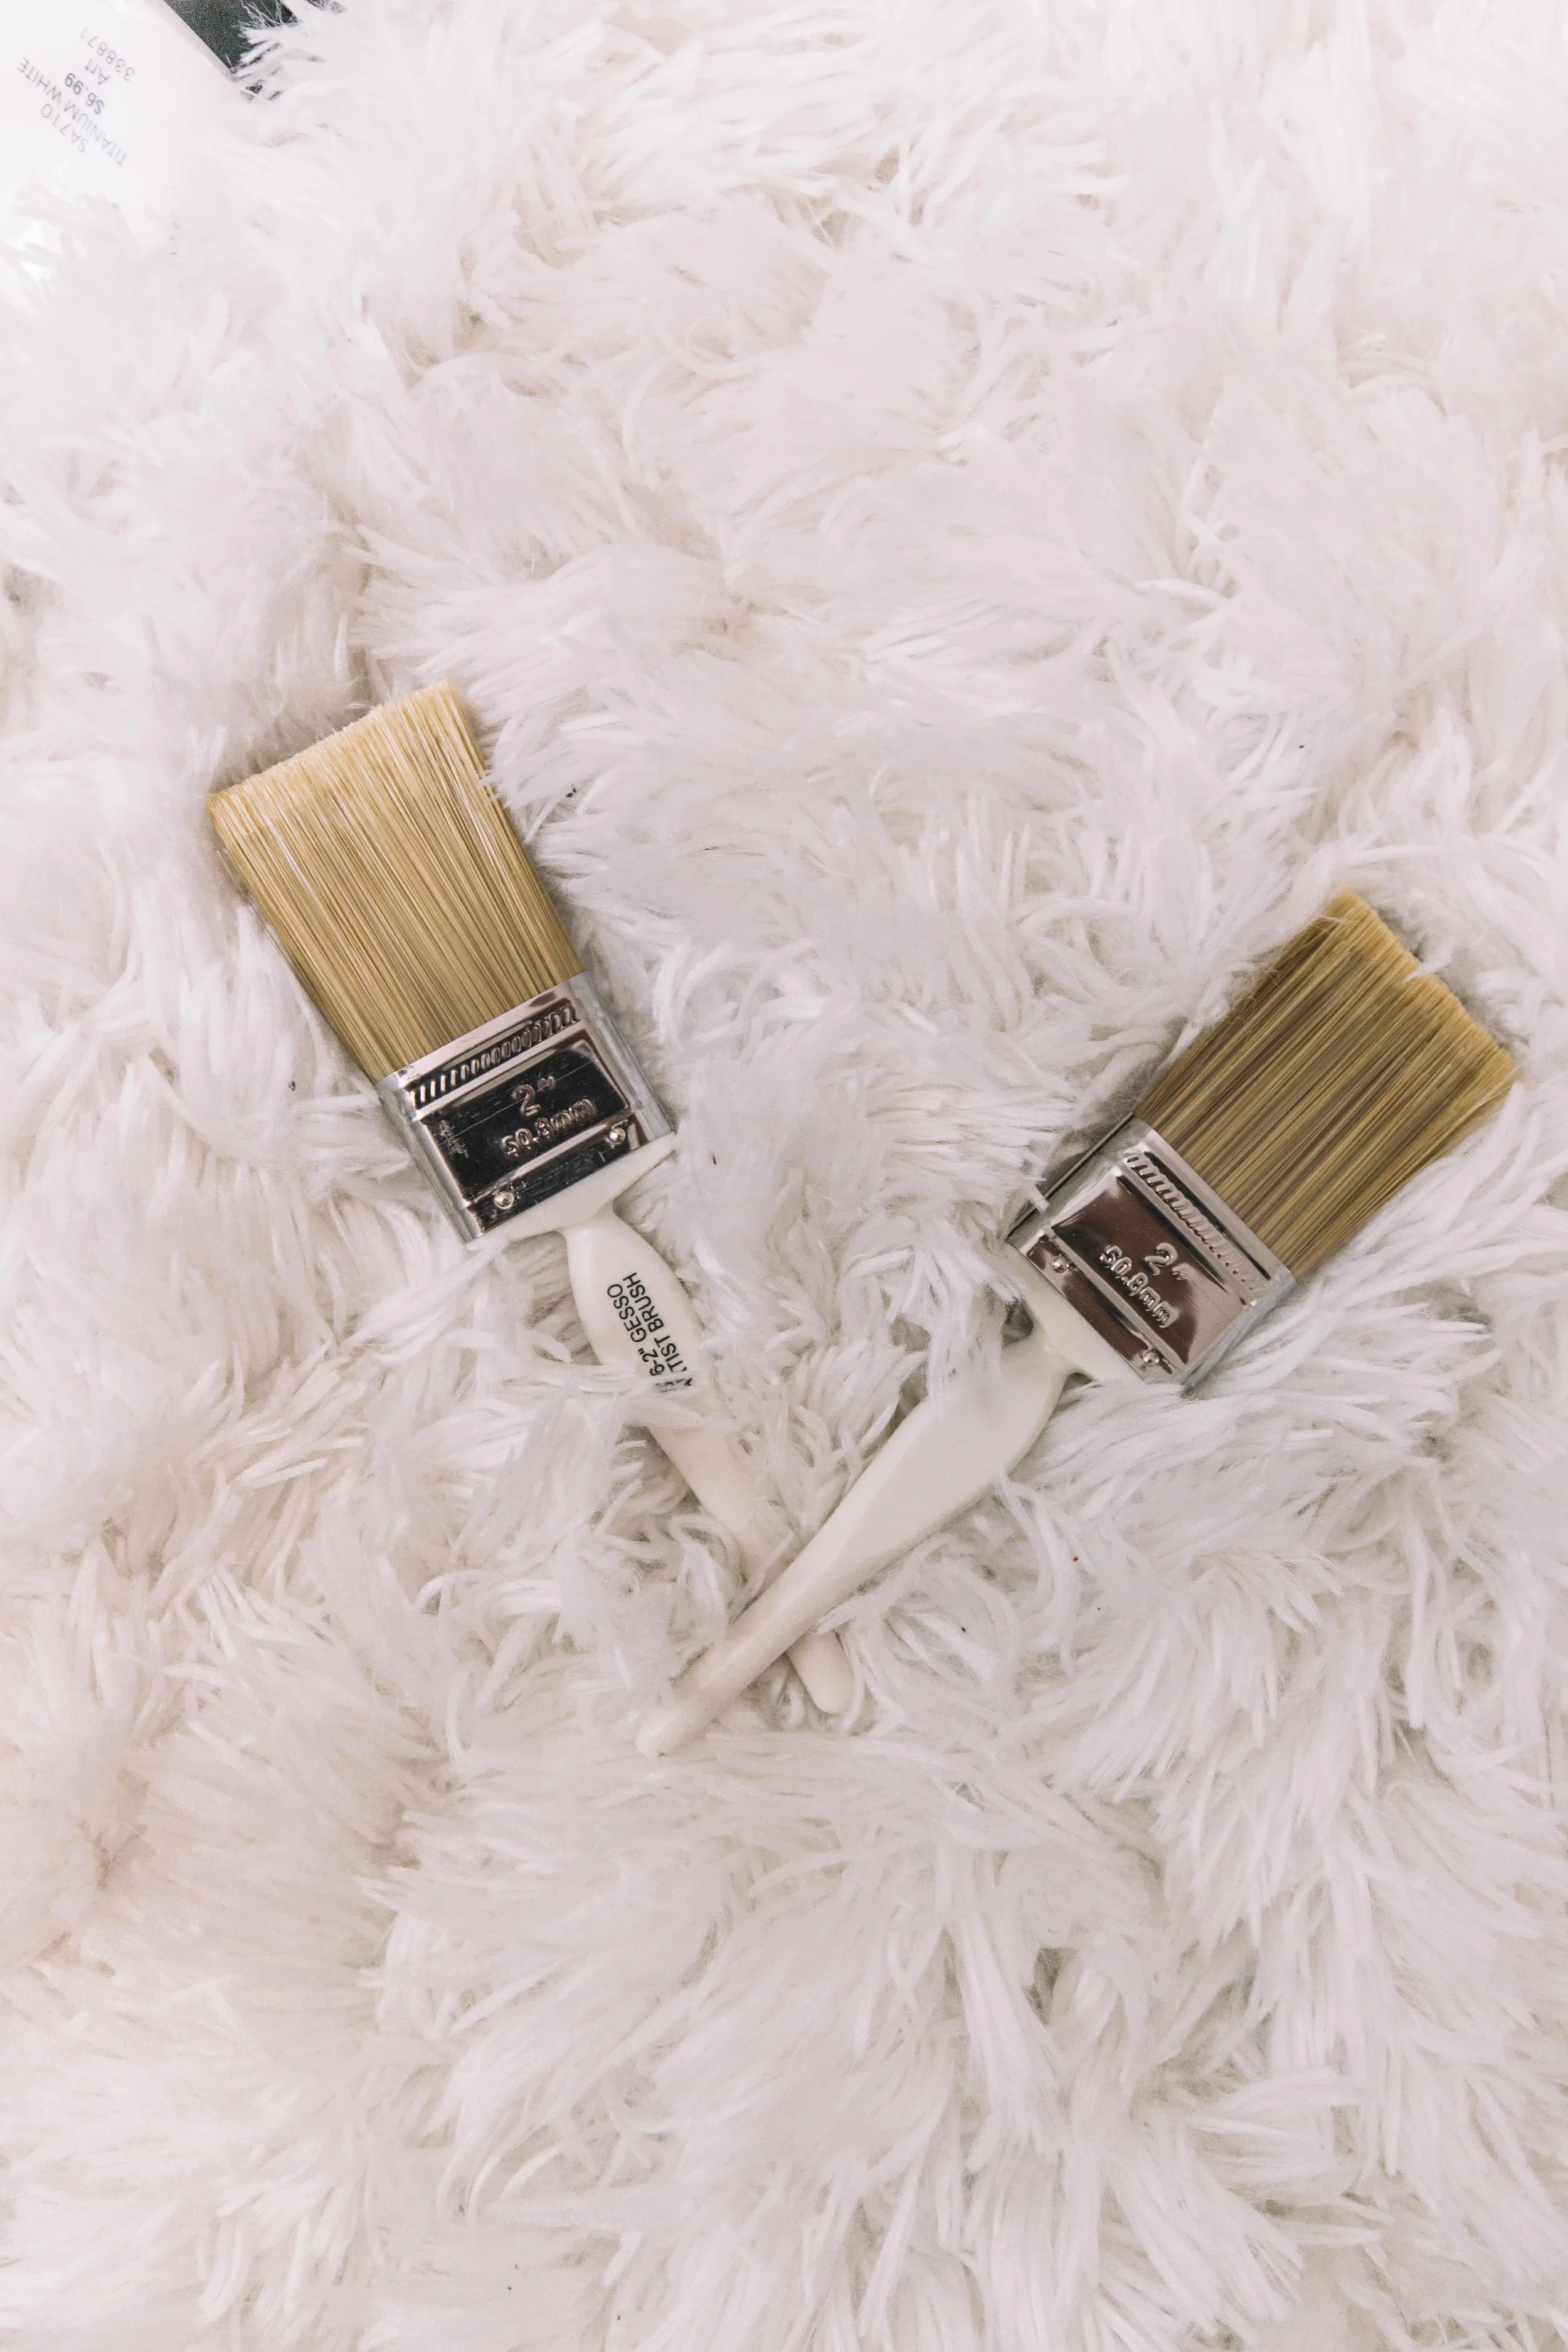
What you need:
— Master’s Touch Acrylic Paints
— Brushes
— Painting Spatulas
— Newspaper
— Canvases
— Paint Palette
— Paper Towels
— Spotify/Apple Music

Technique 01: Northern Light Stripes

Technique 01: Northern Light Stripes
Level: MODERATE
Step 01: You want to start any painting by covering everything in sight with newspaper, a tarp, or old bedsheets. (And I mean everything, I forgot to cover my couch the first time and let me just say, COVER EVERYTHING!)
Step 02: Choose your colors and put them on your palette.
Step 03: Turn on music, DUH, for me I found that Jazz works the best, for stimulating creativity.
Step 04: Grab one of your painting spatulas. I am going to take my darkest color and start at the top, using the back of my spatula to blend it down.
Step 05: Now i am going to do the same exact thing but from the bottom, blending up.


Step 06: I’m going to be making strokes with the back of the spatula starting from the bottom all the way to the top to connect the two sets of paint.
Step 07: Now take your white and mix it in with the darkest color you used (or what is left of it) on the palette. Dragging it from the bottom color section to the top of the color section. Making strokes with it.


Step 08: Next I will take dark violet (you can use the next color you’d like) and fill in the lines with dark strokes, it creates almost a Northern Lights effect.
Step 09: Now take a second spatula (one that doesn’t have any color on it) so you can put more white on the canvas without having any other colors bleeding in and mixing. I’ll be using the back of the spatula again going from top to bottom and dragging it, filling in any gaps with white.
Step 10: Now, if you need, you can fill in your outer edges again with the darkest color to keep the vignette effect. I am going to stop this one here, add as you think you need or you can add silver/gold leafing. You’re done! Tag your creation to #MaddyCorbinDIY


Technique 02: Ice Breaker Baby!

Technique 02: Ice Breaker Baby!
Level: HARD
Step 01: This one if my favorite, you’re going to take your second blank canvas and stand it horizontally.
Step 02: Put a large amount of your darkest color on your palette and grab a brush. We will be making a dark outer vignette edge. You can create this by making back and forth strokes with your brush.
Step 03: Now I am going to take a dark purple, brush it in the center while blending it in with the blue. You can do this with your own choice of colors.


Step 04: Take a lighter color of your choice, I’m using a light(er) purple to create light strokes in the center and blending them out.
Step 05: Next make a horizontal line in the center using your darkest color.


Step 06: Now grab a spatula and add some white to your palette. Using the side of the spatula create short vertical white lines across the base of the horizontal line. (Note: they don’t have to be perfect, we will be adding to them!)
Step 07: Continue Step 06 over and over again in varying heights using the side of the spatula to create vertical white lines across the base of the horizontal line, filling in the spaces.
Step 08: Now I want to really create a fading 3D effect with the white in the center fading out the lines, I am going to take the tip of my spatula and create a dense amount of white along the line. See image for reference! (Note: Keep a paper towel with you so you can wipe off any excess color that comes off the canvas and onto your spatula or simply wait for your piece to dry before adding more white and avoid this.)


Step 09: Now we are going to add our leafing! I have always been a silver girl so I will be adding silver leafing. I want to create a line with it first and then add random pieces around it, just like our white paint, so it creates a fade effect! How you’re going to do this is by breaking off a small piece using your fingers (Note: Be careful! This stuff is very fragile and can break easily!) and press it into your paint, you can move it and play with it, add more, take away, it’s a fun medium to test with!
Step 10: Once your leafing is in place you can spray it with hairspray to keep it in place and you’re done! Tag your creation to #MaddyCorbinDIY


Technique 03: The Salted Caramel Frappe (ABSTRACT)
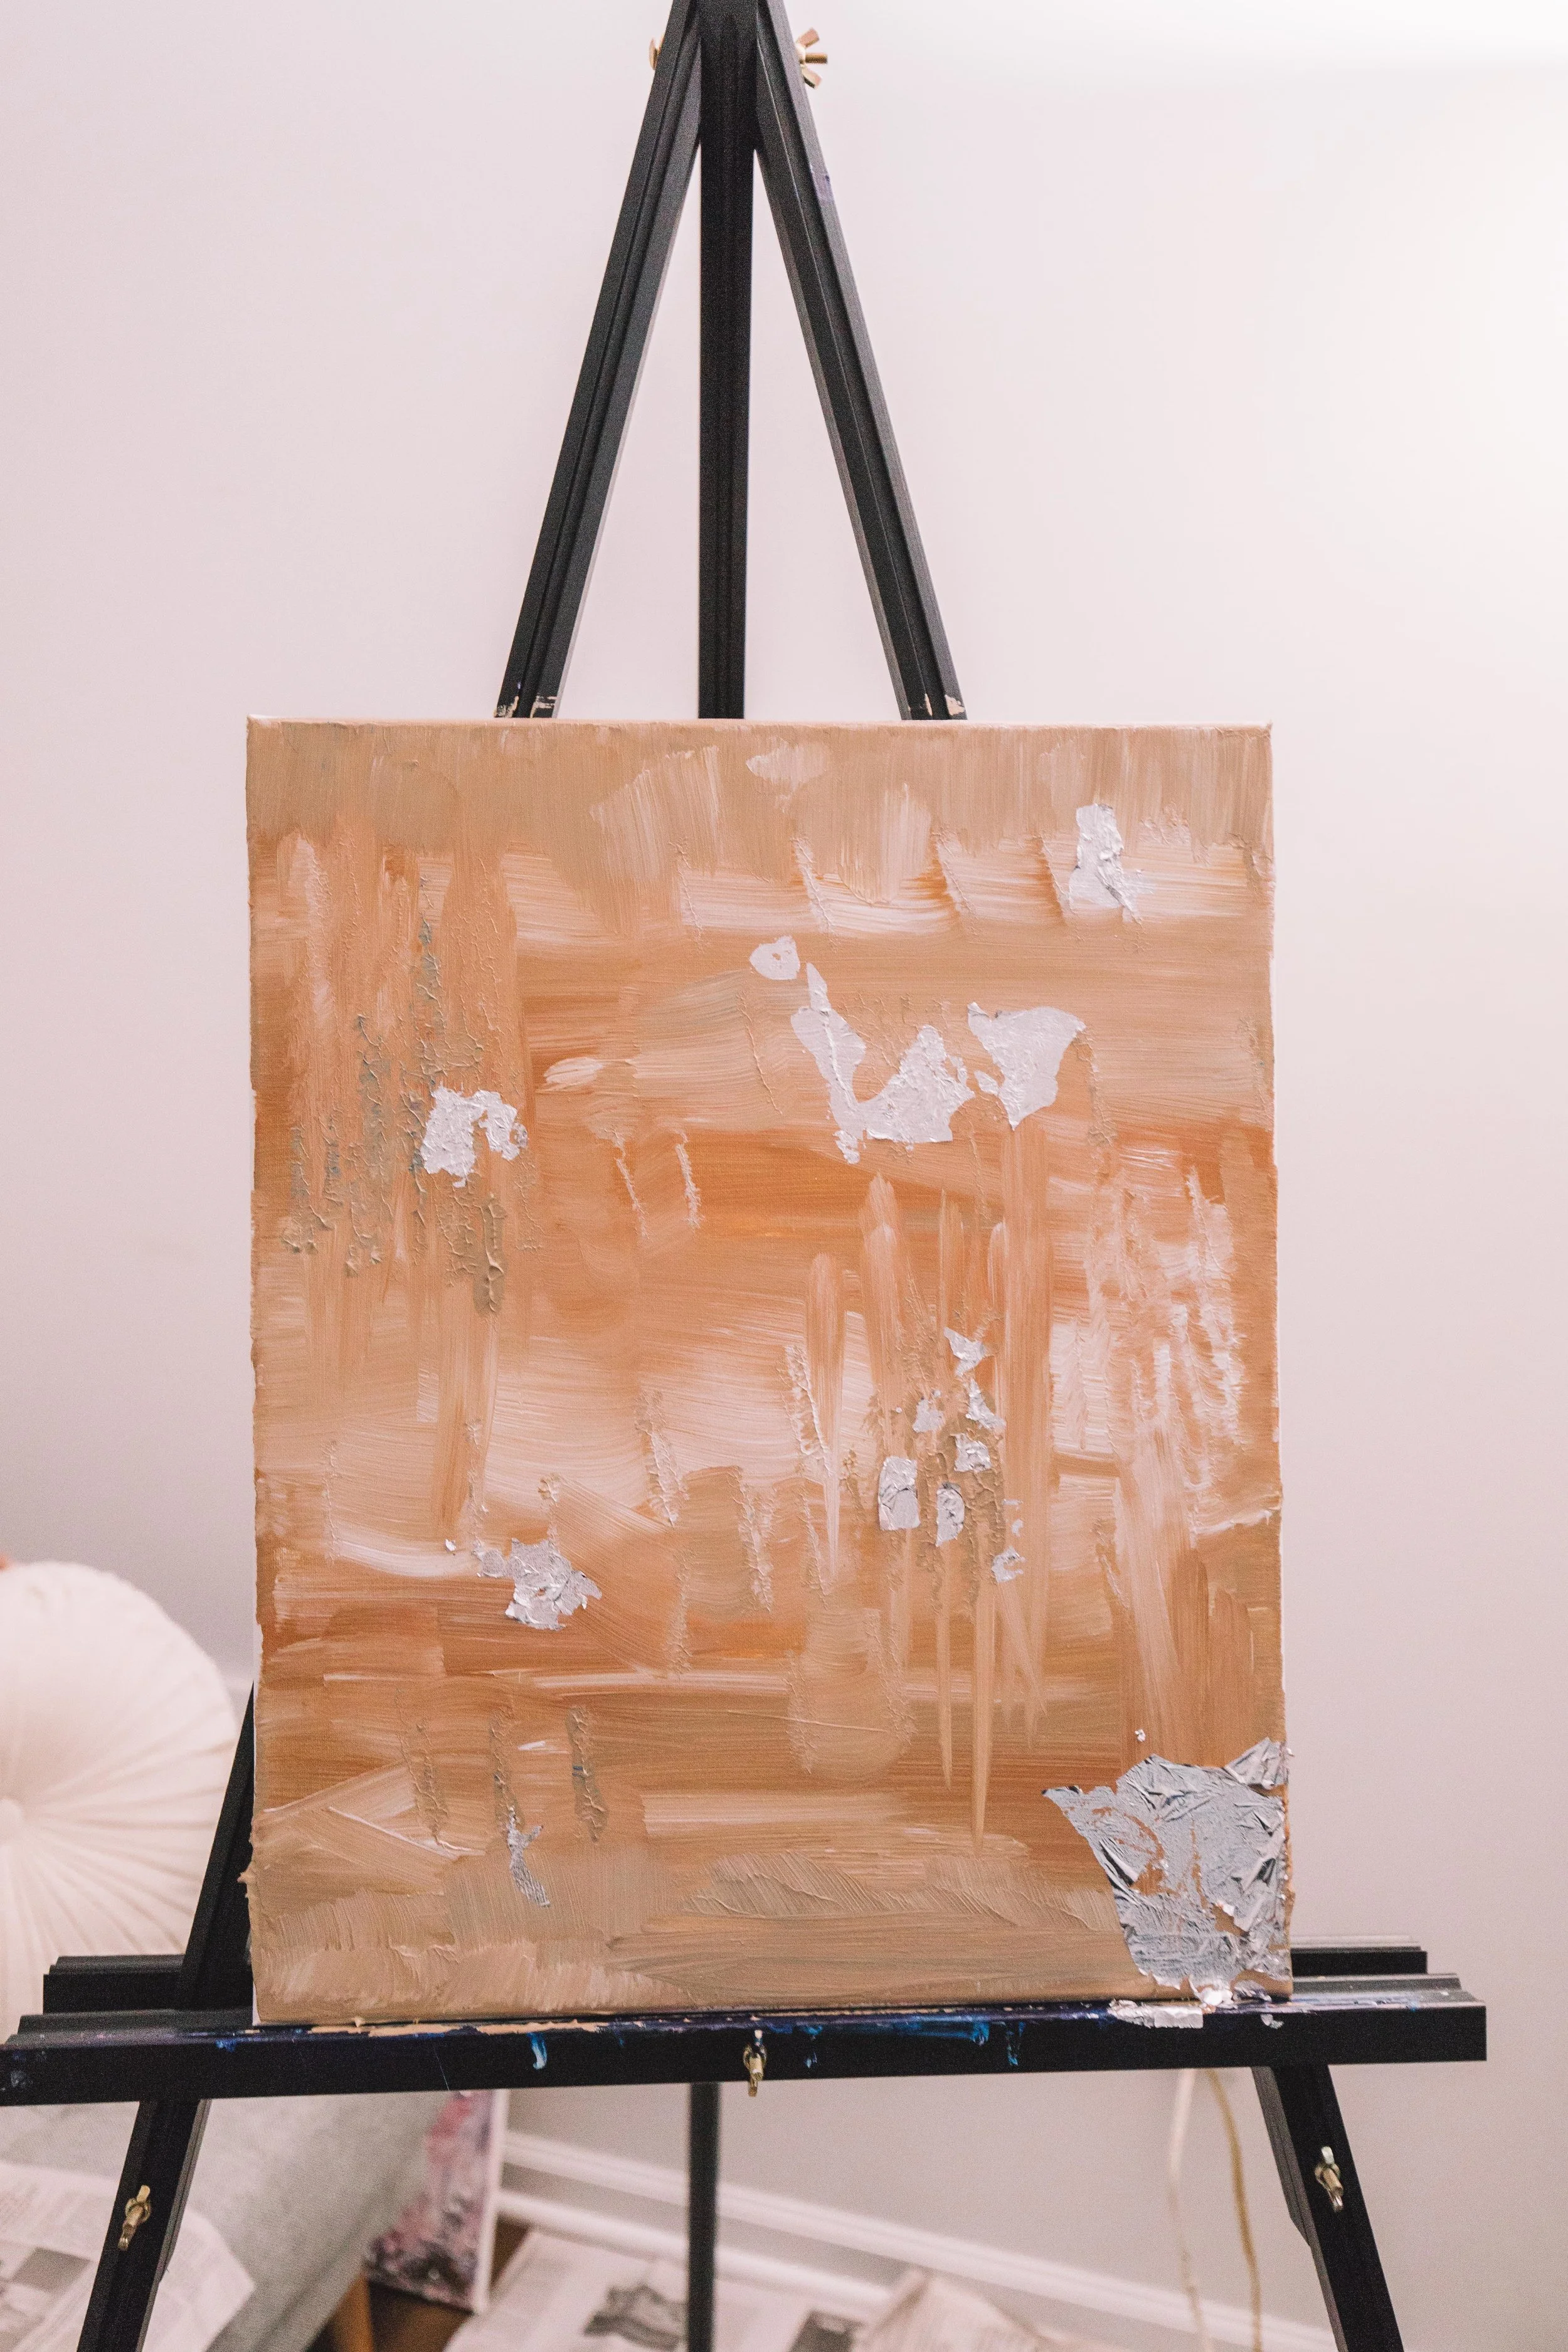
Technique 03: The Salted Caramel Frappe (ABSTRACT)
Level: EASY
Step 01: I am going to start with the brush again on this one. Taking our final canvas I am using a warm grey/tan color. You can use your own choice of colors but to get the Salted Caramel Frappe look I recommend using similar colors here!
Step 02: Take your color to the top and bottom of the canvas as our previous techniques have, leaving the center white.
Step 03: Now I am going to take a similar color but more yellow, to fill in some strokes. This technique is all about slowly filling on the canvas with a variety of styles of brush strokes so have fun with it!


Step 04: Once I mix the two colors in and create a nice base on the canvas you'll want to start going in and making shorter thinner lines/strokes. You can use white or a darker color to contrast, this is abstract.
Step 05: Once you’re abstract piece is looking the way you want it with the acrylic paint it is time to add leafing. I think that gold would have looked better with the colors I chose, but I only had silver on hand, so I went with it! Press it in, hairspray it and congrats, you're done! Tag your creation to #MaddyCorbinDIY


I hope you’ve enjoyed this weeks #MaddyCorbinDIY project! I cannot wait to see what you all come up with, these are great for any room, and make even better gifts. They are cost effective and who doesn’t love something handmade? Stay tuned for next week’s project where we get to create even more!